Checking the received photo on the phone
When you have completed transferring, you are ready to upload the photos to your cloud.

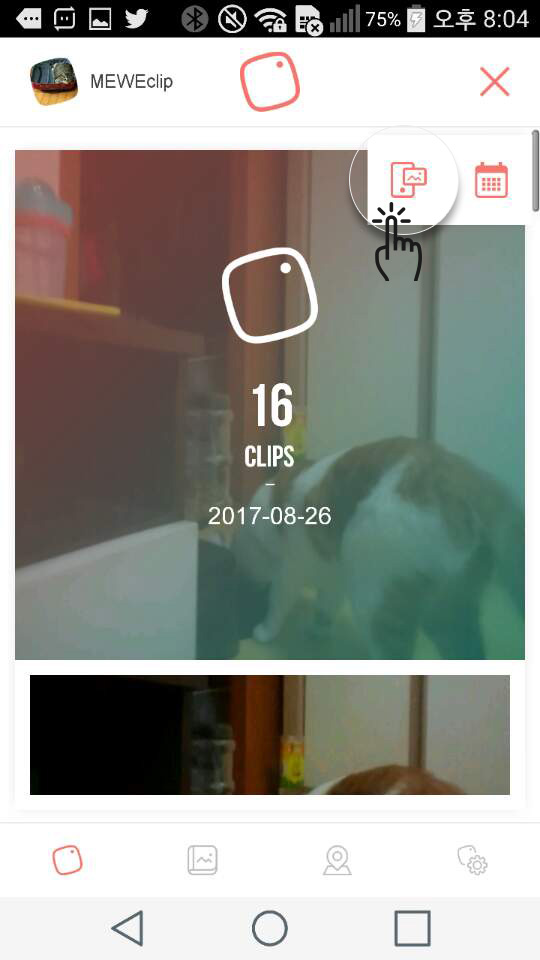
Just scroll down the current page to refresh thereafter, an icon will appear on the bottom right.

The “0” will appear when the transmission is completed, and no photos remain in the camera.

Sending photos to the cloud
You can select photos in the grid view to delete or upload.

Check the photos on the “Preview MEWECLIP” page.

You can select the photos individually or all at once to delete.

Delete the photos you do not like and click on “select all” to upload.


When the upload is complete, the page will be blank.
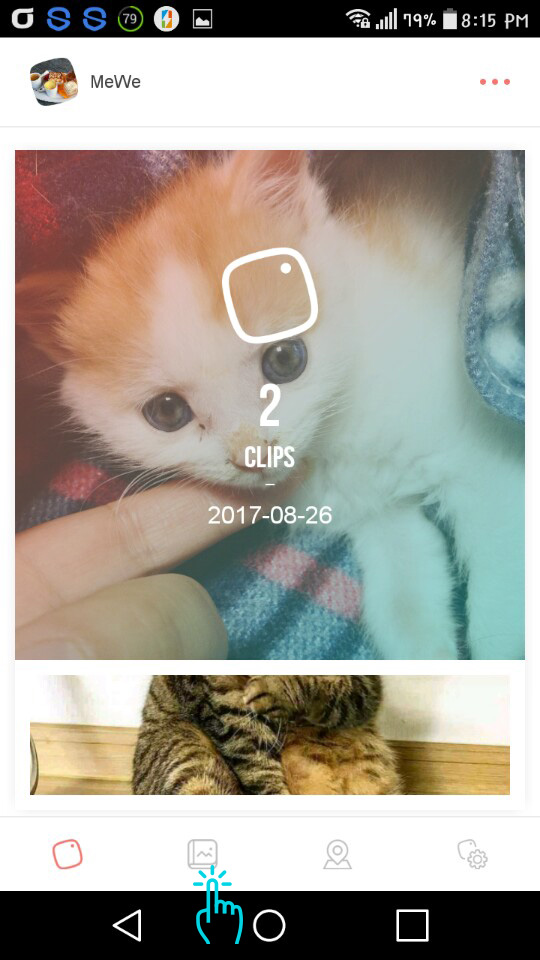
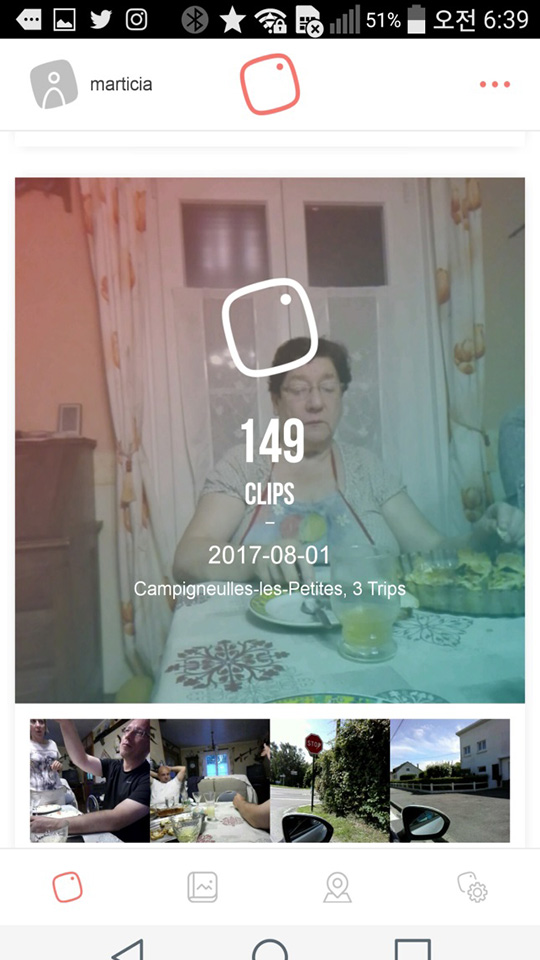
Viewing photos in the “Timeline” I
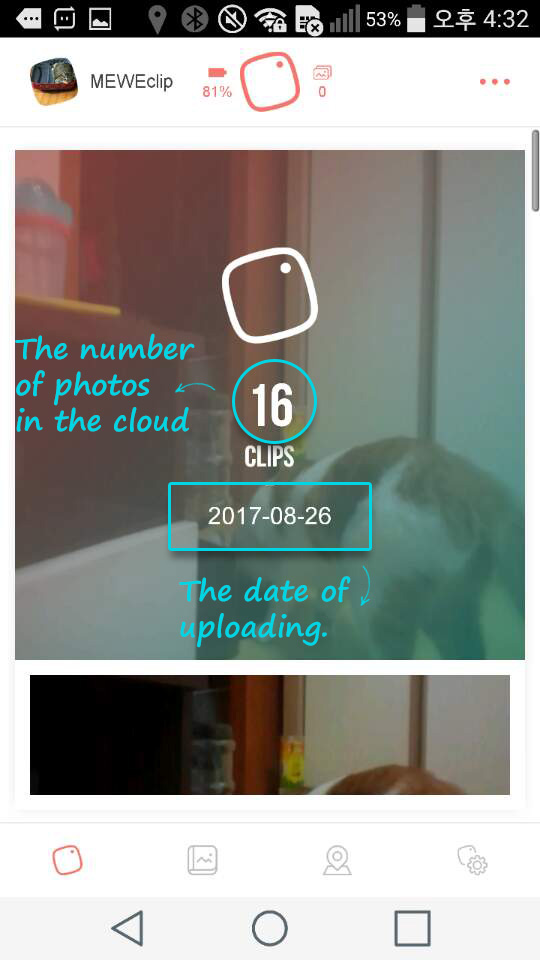
Click the photo and you will see all your photos in the cloud. After uploading process, the photo of the timeline is updated.

You can see that photos are displayed in the right position, unlike the photos on the “Preview” page.
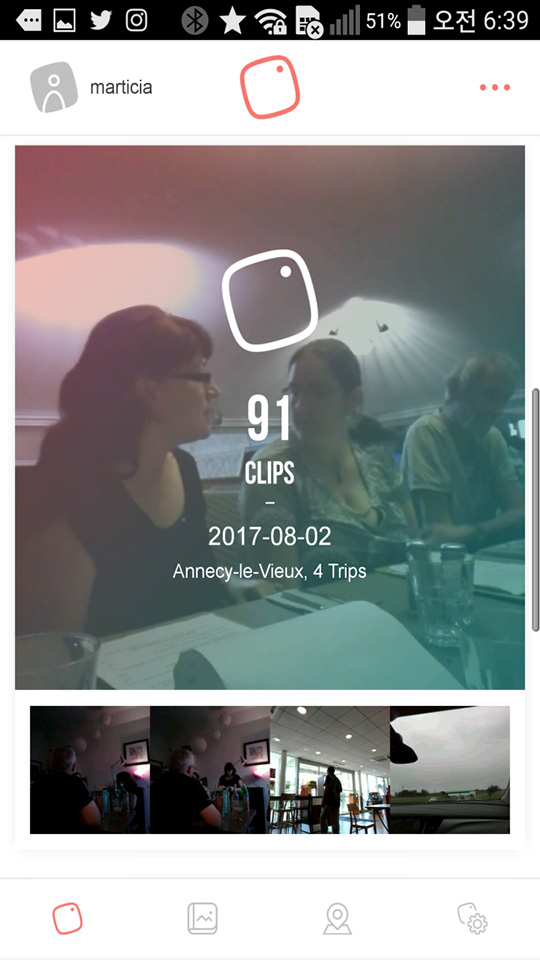
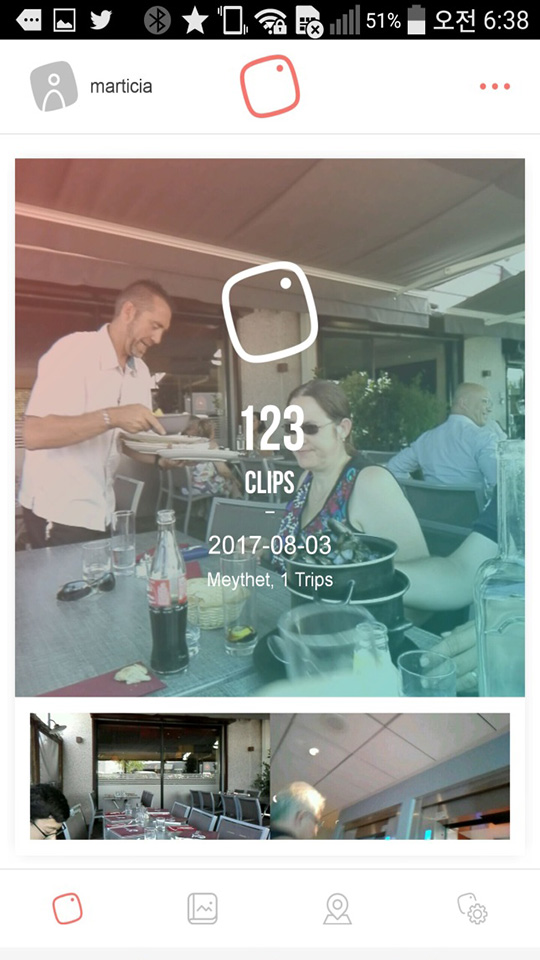
Viewing photos in the “Timeline” II
You can view the timeline photos both online and offline.
Saving & sharing photos

When you click the photos on the timeline, it goes to the page with a grid-view sorted by time order.
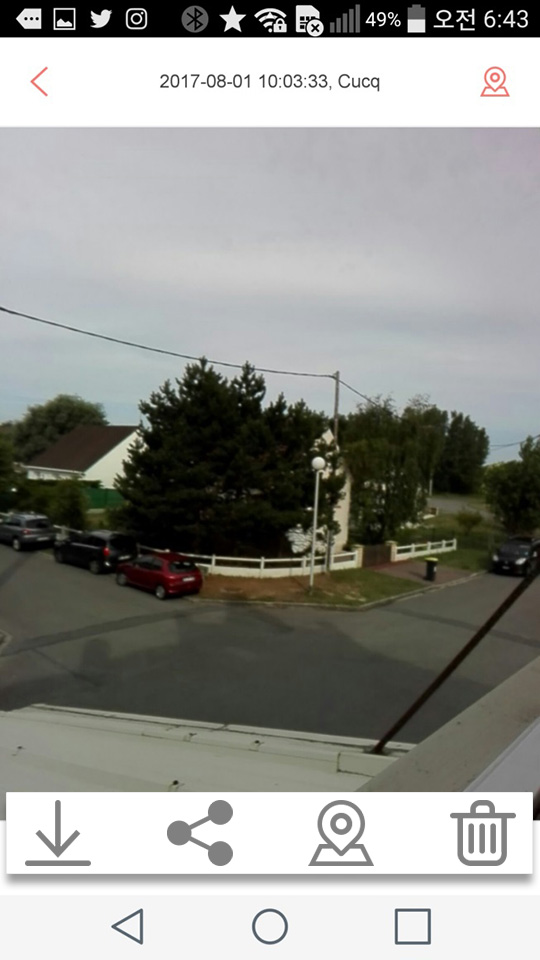
You can edit GPS information manually by clicking the icon. GPS information may not record when you are indoors or when you upload photos during the intervals of GPS.

Uploading photos in the phone Gallery on the MEWECLIP Timeline
You can select any photo in your phone Gallery and upload it to the Timeline, too.